Ever had your ID photo rejected and wondered why? One sneaky reason could be shadows—those dark, unwanted patches on your face or background that most people don’t even notice… until their photo gets denied.
Government Guidelines for ID Photos
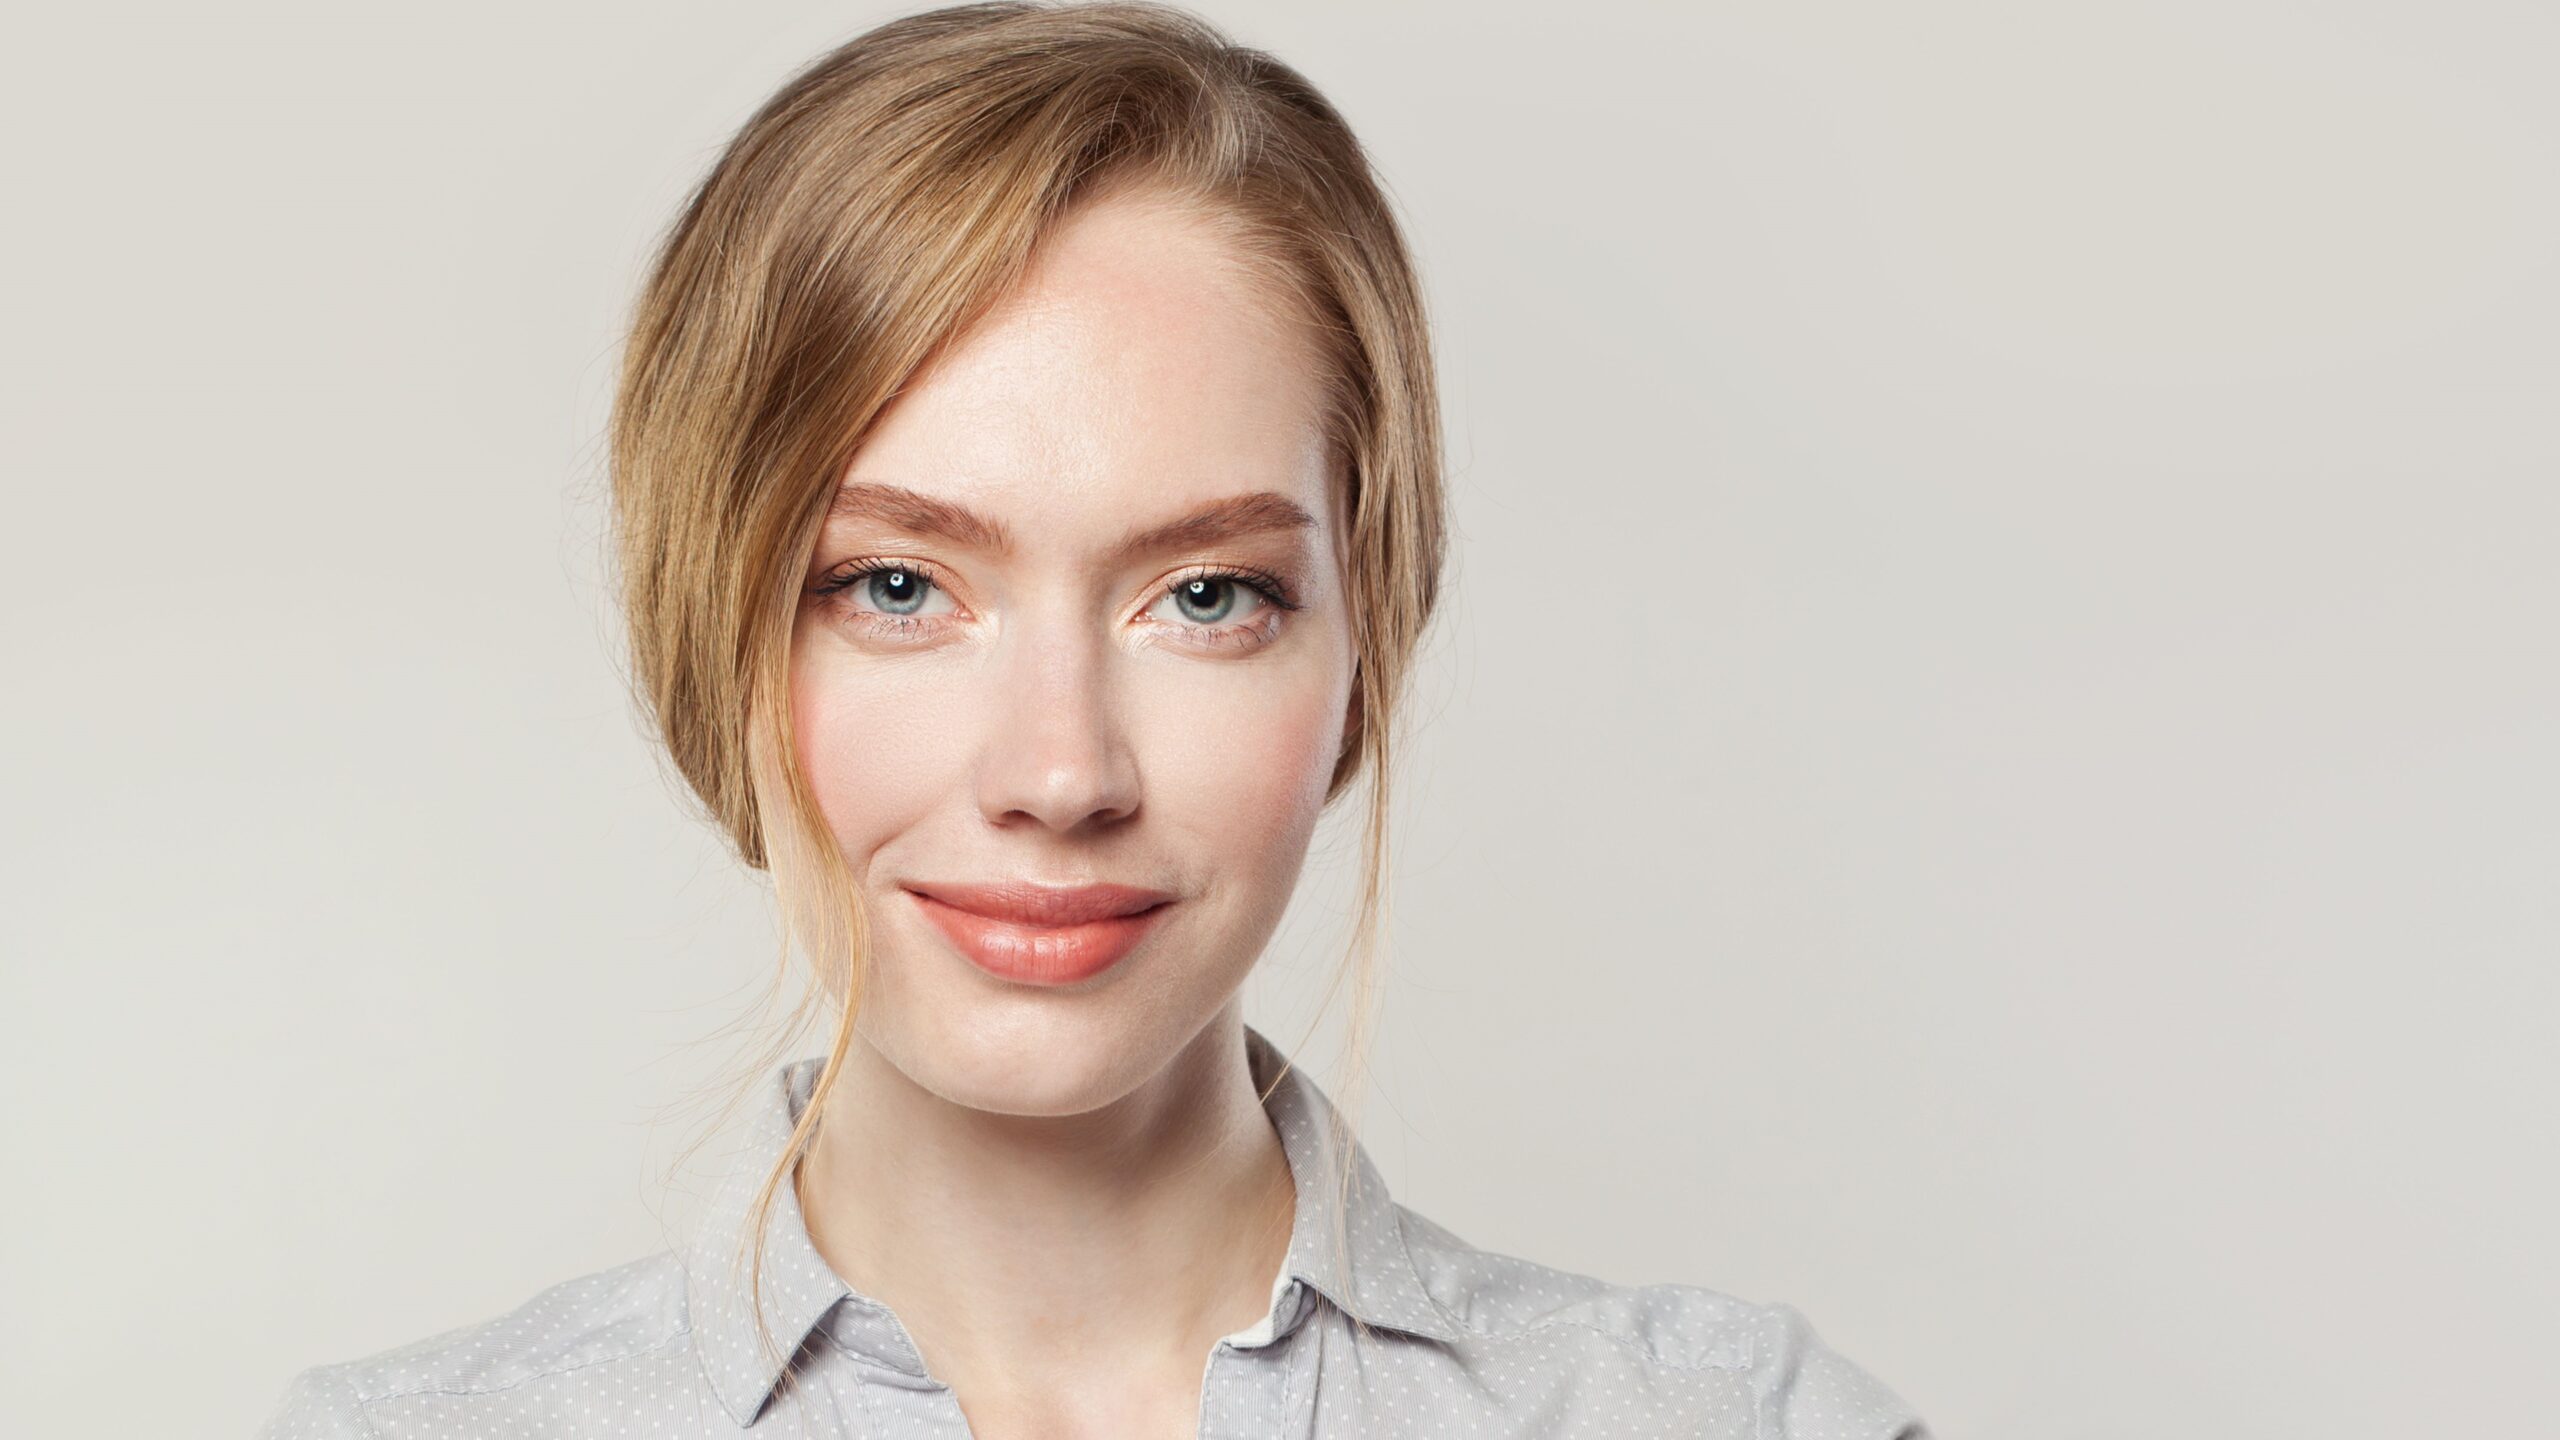
When it comes to ID photos for official documents like passports, driver’s licenses, or visas, the rules are surprisingly strict—and for good reason. Government agencies such as the DMV or U.S. Department of State require that your photo clearly shows your entire face, with even lighting and no shadows. These images are not just for identification today—they’re often stored in databases and used by facial recognition systems years down the line. Shadows can obscure important facial features or make your image look inconsistent, which can interfere with accurate recognition. That’s why even something as simple as a shadow under your eyes or behind your head can lead to a photo being rejected.
How Shadows Can Cause Rejections
You might think a small shadow on your cheek or under your chin isn’t a big deal—but in the world of government ID photos, even the tiniest shadow can create a problem. Shadows can distort your facial features, making your nose look wider or your jawline appear uneven. These subtle changes may not be noticeable to the naked eye, but they can throw off facial recognition technology. Automated systems scan ID photos to match your face with existing records, and shadows can affect the algorithm’s ability to read your features accurately. That’s why agencies have such a low tolerance for anything that might alter your appearance, even slightly.
In addition to throwing off biometric recognition, shadows can also make your photo look like it’s been poorly edited or digitally altered. For example, a shadow behind your head may resemble an artificial background, which can raise red flags for fraud. Likewise, uneven lighting might suggest the use of a filter or unauthorized software adjustments. When a photo doesn’t meet standards, it’s flagged and rejected—sometimes without a clear explanation. This not only delays your paperwork but also adds unnecessary stress and extra effort. That’s why taking the time to eliminate shadows before snapping your photo is more than just a best practice—it’s a must.
Common Causes of Shadows in DIY Photos
Poor Lighting Conditions
Lighting is the backbone of any good photo, especially for ID purposes. When you’re taking your own photo at home, poor lighting is often the number one culprit behind harsh shadows. If the room is too dim, or if you’re relying on a single lamp, light won’t spread evenly across your face or the background. This causes unwanted dark spots under the eyes, nose, or chin, making your face look uneven and creating shadows that might get your photo rejected. Even natural light can be tricky — direct sunlight is too strong and can create high contrast, while a cloudy day may not give you enough brightness.
The trick is to aim for soft, even lighting that comes from more than one direction. Don’t shoot your photo late at night or in a dark room. Try doing it during daylight hours in a space with indirect sunlight. If the room is too dark, add a second light source on the opposite side to balance things out. Using warm white LED bulbs or natural daylight bulbs helps keep your skin tone looking natural without introducing weird color casts.
Common poor lighting problems include:
- Using a single overhead bulb
- Relying only on a desk lamp
- Taking photos in a room with no natural light
- Facing away from the window
- Shooting during sunset or at night
Incorrect Camera Position
Your camera’s position makes a bigger difference than you might think. When it’s placed too high, it creates deep shadows under your eyes and chin. When it’s too low, the lighting can make your jawline and neck look distorted, and cast unflattering shadows on the walls behind you. Many people make the mistake of placing the camera too close or too far away, which changes how the light hits your face and how shadows appear in the final image.
To get a clean, evenly-lit ID photo, position the camera directly at eye level, about 3 to 5 feet from where you’re standing or sitting. This allows light to hit your face more uniformly and avoids exaggerated shadows. Don’t tilt the camera up or down — keep it flat and stable. Using a tripod or stacking books to level your phone works well. Also, make sure you’re not too close to the wall. A few feet of distance between you and the background reduces shadows cast behind your head or shoulders.
Common camera placement mistakes:
- Camera positioned too high or low
- Tilting the camera forward or backward
- Standing too close to the wall
- Holding the phone by hand (causing shake and uneven angles)
- Not using a stable surface or tripod
Prepping Your Space Before Taking the Photo
Find the Best Natural Lighting
Natural light is the easiest and best source of illumination for your DIY ID photo. Ideally, stand facing a large window during the daytime to take advantage of soft, even light. Avoid direct sunlight because it can cause harsh shadows and bright spots that distort your face’s natural features. Instead, aim for the diffused brightness of a cloudy day or filtered light through curtains. This creates a smooth, flattering glow that evenly lights your entire face without any shadowy patches.
If direct sunlight is unavoidable, try to soften it with a thin white curtain or sheer fabric to diffuse the light. Position yourself about 3 to 5 feet away from the window to get balanced light coverage across your face. Being too close can cause uneven brightness, while too far may dim your face. Natural light not only reduces shadows but also highlights your skin tone and eye color realistically, which is crucial for official photos.
Choose a Proper Background
The background of your ID photo should be simple and free of distractions. Use a blank wall painted white, light gray, or beige. Avoid textured walls, wallpaper, patterned backgrounds, or anything with decorations like pictures or shelves. Such elements can cast shadows or interfere with the automated facial recognition systems that rely on a clear separation between you and the background.
Additionally, keep some distance between you and the wall—about 3 to 5 feet is recommended. This spacing prevents shadows from being cast on the wall behind you, which can ruin the photo’s overall appearance. A clean, neutral background not only complies with most government guidelines but also makes your face the focal point without competing elements.
Keep Clothing and Hair Neat
What you wear in your ID photo matters. Choose solid-colored clothing that contrasts with your background to make sure your face stands out clearly. For example, if your background is white, avoid white or very light-colored tops because you’ll blend into the background, making your face harder to see. Dark or medium tones work best. Also, steer clear of busy patterns or flashy accessories that might reflect light or distract from your face.
Your hairstyle should keep hair away from your face so all your features are visible. Pull hair back or tuck it behind your ears. Avoid any jewelry that’s shiny or reflective as it can cause glare or unwanted light spots on the photo. Remember, the goal is simplicity so that nothing detracts from your face or creates confusing shadows.
| Step | Recommendation | Tips | Important Notes |
| Find the Best Natural Lighting | Use large window with diffused daylight | Avoid direct sunlight; use sheer curtains | Stand 3–5 feet from the window |
| Choose a Proper Background | Plain wall: white, light gray, or beige | No patterns or textures | Keep 3–5 feet distance to prevent shadows |
| Keep Clothing and Hair Neat | Wear solid contrasting colors | Pull hair back; avoid shiny accessories | Avoid white clothing on white background |
| Reflect Light with Household Items | Use white poster board or foil-wrapped cardboard | Hold reflector below chin or opposite side | Bounce light to fill shadows |
| Add Extra Light Sources | Use lamp with soft white bulb opposite window | Use diffusers or lampshades | Balance lighting evenly on both sides |
DIY Lighting Techniques to Eliminate Shadows
Use Natural Light from Windows
Natural light is your best option for even lighting that reduces shadows. Stand about 3 to 5 feet from a large window, facing it directly. This distance allows light to spread evenly over your face and minimizes harsh contrasts. By doing this, you ensure that every feature is well-lit and clear, with soft, natural shadows that don’t distort your facial details.
If your window faces a sunny spot, try to diffuse the light with a sheer curtain or white sheet. This creates a gentler illumination and stops any bright spots or dark shadows from forming. Using natural window light is cost-free and often produces the most flattering results for ID photos.
Reflect Light with Simple Household Items
If you notice shadows under your chin or on the sides of your face, you can easily fix them using reflectors made from household items. For instance, a white poster board or cardboard covered in aluminum foil can bounce light back onto your face, filling in those shadowed areas. Hold the reflector just below your chin or off to one side opposite your main light source to even out the lighting.
These DIY reflectors work by redirecting existing light, brightening shadowy parts without needing expensive lighting equipment. This technique is especially useful if your main light source is coming from one side only, helping you achieve a balanced look and preventing harsh, one-sided shadows.
Add Extra Light Sources if Needed
Sometimes natural light alone isn’t enough, especially in rooms without good windows or on cloudy days. In these cases, add a lamp with a soft white bulb on the opposite side of your main light source (like the window). This secondary light will help fill in shadows on the darker side of your face, creating a balanced, even illumination.
Make sure to use lamps with diffusers, soft shades, or cover bulbs with white fabric to avoid direct harsh light. The goal is to mimic natural light as much as possible so the lighting looks smooth and even, not spotty or too bright on one side. Combining multiple light sources can make your DIY photo look professional and shadow-free.