Applying for dual citizenship can feel like navigating a complex maze. One of the most important—and sometimes overlooked—parts of your application is the ID photo. A perfect ID photo not only speeds up your application process but also avoids frustrating delays or rejections. So, what does it take to create a flawless photo for your dual citizenship application?
Dual Citizenship and ID Photo Requirements
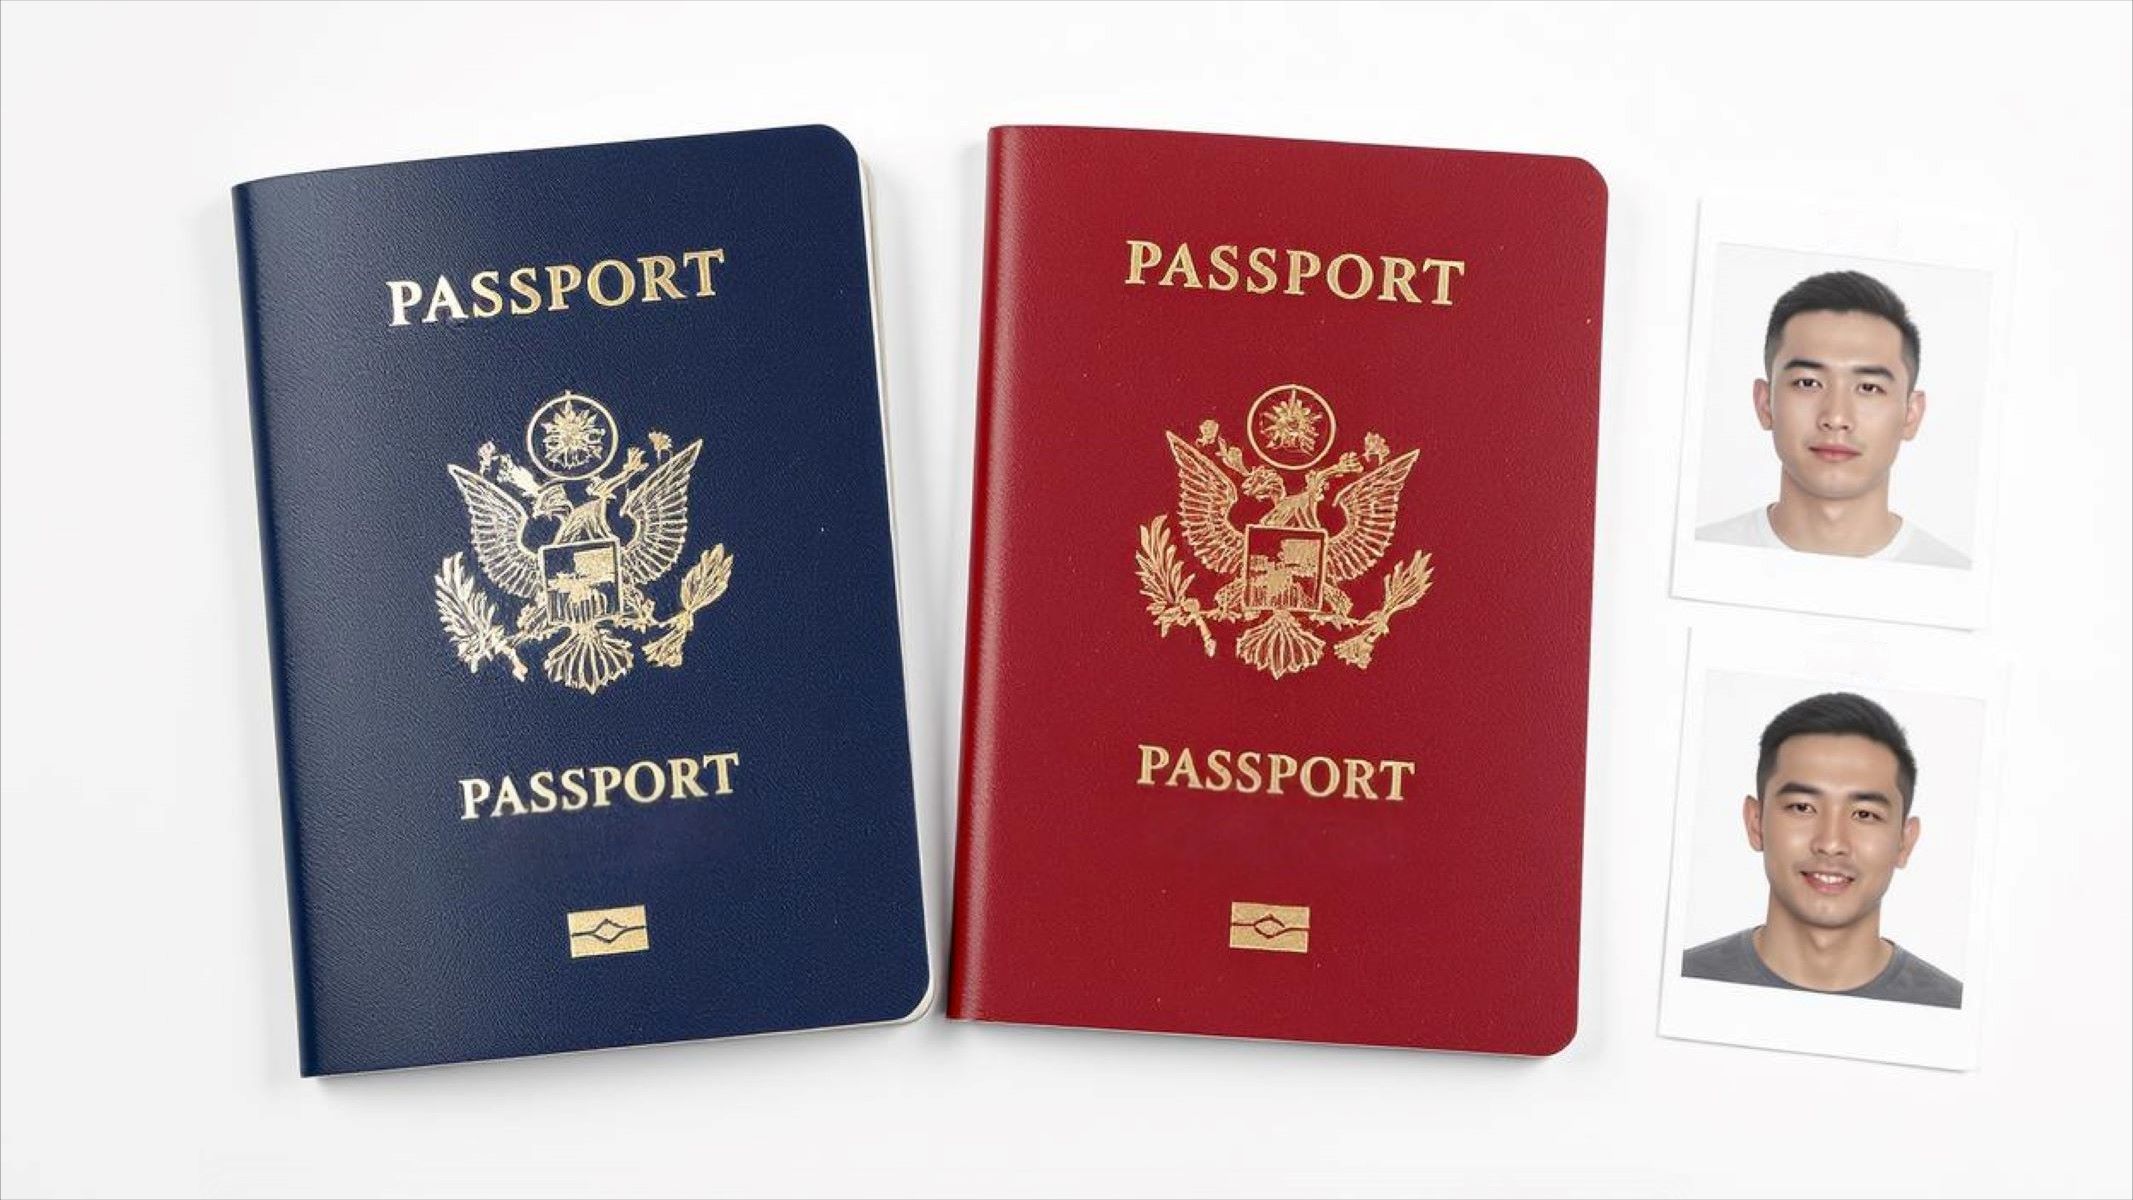
Dual citizenship means holding legal citizenship in two different countries simultaneously. This status allows individuals to enjoy the benefits of both nations, such as the ability to live, work, or travel freely across borders without needing visas or special permissions. However, applying for dual citizenship involves significant paperwork, and one of the most important elements is submitting official identification photos. These photos serve as a visual confirmation of your identity, helping immigration and citizenship authorities verify that the person applying is indeed who they claim to be. Because of this, photo requirements are strict and must be followed precisely to avoid delays or outright rejections of the application.
General Guidelines for ID Photos in Dual Citizenship
Most countries share common standards for ID photos used in citizenship applications, although some specifics may vary. One of the most universal requirements is the size and dimensions of the photo. In the United States, the standard size is 2×2 inches (51×51 mm), but other countries might ask for slightly different measurements. It’s vital to use the exact dimensions required to ensure your photo is accepted. Besides size, the background of the photo must be plain, usually white or a light neutral color, and free from any shadows or patterns that could distract from your face. This clean backdrop helps authorities clearly see the applicant without any visual interference.
Another important factor is the facial expression. The official expectation is a neutral expression with the mouth closed and eyes open and clearly visible. Smiling, frowning, or any exaggerated expression can lead to rejection because it alters your natural appearance. Your head position is also crucial; you must face the camera straight on, not tilted or turned to the side. The entire face, from chin to the top of the head, must be fully visible, with no hair covering the eyes or any part of the face. Meeting these basic guidelines significantly increases the chance that your photo will pass inspection for dual citizenship applications.
Country-Specific Photo Requirements for Dual Citizenship
When applying for dual citizenship, it’s crucial to understand that photo requirements differ from country to country. Each government sets its own standards to ensure the photo clearly and accurately identifies the applicant. Not knowing these specifics can lead to delays or rejection of your application. Below are the detailed photo requirements for some key regions: the United States, European Union countries, and select Asian countries.
United States Requirements
The United States has very strict and clear-cut rules for ID photos used in citizenship applications, including dual citizenship. Here are the key requirements:
- Photo Size: Exactly 2×2 inches (51×51 mm).
- Background: Plain white or off-white, completely free of shadows or patterns.
- Facial Expression: Neutral expression with both eyes open, mouth closed. No smiling.
- Head Position: Straight on, facing the camera directly.
- Glasses: Not allowed, to avoid glare and reflections that obscure the eyes. Exceptions are extremely rare and require documentation.
- Photo Age: Must be taken within the last six months to reflect your current appearance.
- Lighting: Even, balanced lighting with no shadows on the face or background.
Following these rules precisely is vital for a smooth U.S. dual citizenship application. Any deviation—such as a colored background, smile, or glasses—can result in your photo being rejected.
European Union Countries
In the European Union, photo requirements share many similarities but also vary slightly by country. Generally, these are the standards you will find:
- Photo Size: Typically 35×45 mm (about 1.38 x 1.77 inches).
- Background: Usually light grey or white, with no patterns or shadows.
- Facial Expression: Most countries require a neutral expression, but some allow a slight natural smile.
- Head Position: Head must face the camera directly with eyes open and visible.
- Head Coverings: Allowed only for religious reasons, but the face must remain fully visible.
- Photo Age: Often required to be recent, typically taken within the past six months.
- Lighting: Even lighting without shadows or glare.
It’s important to check the specific requirements for the country you’re applying through because subtle differences exist. For example, Germany and France require stricter neutrality, while the UK may allow a faint smile.
Asian Countries
Asian countries like Japan and South Korea tend to have some of the strictest ID photo requirements. These rules are often more detailed to maintain very high standards for official documents:
- Photo Size: Usually close to 35×45 mm, but exact dimensions can vary slightly depending on the country.
- Background: Plain white with no shadows, patterns, or objects.
- Facial Expression: Neutral expression is mandatory—no smiling or showing teeth.
- Head Position: Directly facing the camera with the full face visible.
- Head Coverings: Permitted only for religious or medical reasons, with the face fully visible.
- Photo Age: Must be very recent, typically taken within the last six months.
- Lighting: Strict lighting rules with no shadows or reflections allowed on the face or background.
Because of these precise requirements, many applicants prefer professional studios that understand local standards to ensure their photos are accepted without issues.
Special Cases and Exceptions
When preparing ID photos for dual citizenship applications, certain special cases require adjustments or exceptions to the standard rules. These exceptions mostly involve children, elderly applicants, and those who wear religious headgear. Understanding these nuances is important to ensure your photo complies with regulations while respecting personal and cultural differences.
| Special Case | Exceptions/Relaxations | Requirements | Notes |
| Children and Infants | Facial expression rules may be relaxed | Clear visibility of eyes and face required | Smiling or crying tolerated if child is very young |
| Elderly Applicants | No major exceptions | Clear face visibility and neutral expression recommended | Lighting and contrast important due to aging skin |
| Applicants Wearing Religious Headgear | Allowed if face and eyes are fully visible | Headgear must not cast shadows or obscure face | Must comply with identification standards |
Children and Infants
Photos of children and infants often have more lenient rules regarding facial expressions because it can be difficult to get a baby or toddler to hold a neutral expression. Authorities generally accept slight smiles or open mouths in photos of very young children. However, despite this flexibility, it remains critical that the child’s eyes and full face are clearly visible in the photo. Any shadows or obstructions that obscure the face can lead to rejection of the application.
For infants especially, the background should still be plain and light-colored, and no toys or other objects should appear in the picture. The child’s head must not be tilted or covered, and the eyes should be open. Parents often find it easier to take these photos in natural light to avoid harsh shadows or reflections, which can distort the image and make identification difficult.
Elderly Applicants
For elderly applicants, there are generally no official exceptions to the photo rules. However, it is especially important that the photo clearly shows the face, as age-related features like wrinkles, gray hair, or facial lines should not interfere with identification. Proper lighting and contrast are vital because poor lighting can cause the face to appear washed out or shadowed, making recognition harder.
Elderly applicants are advised to keep a neutral facial expression, look directly at the camera, and avoid accessories like tinted glasses or hats that could obscure the face. If mobility or health issues make it difficult to pose, some countries may offer special accommodations, but these must be arranged in advance.
Applicants Wearing Religious Headgear
Applicants who wear religious headgear such as turbans, hijabs, or yarmulkes are generally permitted to wear these in their ID photos, but only if the face remains fully visible. The headgear must not cover any part of the face or cast shadows that obscure facial features, especially the eyes. The goal is to ensure the photo clearly identifies the individual while respecting their religious practices.
It’s important to check the specific guidelines for the country where you are applying because some may require a statement or additional verification confirming the religious nature of the head covering. Applicants should also make sure the lighting is even so that the headgear does not create shadows that could lead to photo rejection.
How to Take the Perfect ID Photo for Your Application
Taking a perfect ID photo doesn’t have to be stressful. With the right tools and preparation, you can produce a professional-looking photo that meets all the requirements. Here’s how to do it step by step.
Choosing the Right Camera or Smartphone
Nowadays, most modern smartphones are equipped with high-quality cameras that are more than capable of producing official ID photos. The key is to make sure the camera lens is clean and free of dust or smudges that could blur the image. Using the rear camera, rather than the front-facing selfie camera, is generally recommended because it offers better resolution and clarity.
If you have access to a digital camera, it can also work well, provided it has good focus and lighting options. Avoid using cameras with low resolution or those that produce grainy images, as poor image quality can cause your photo to be rejected. Remember to set the camera to its highest resolution settings and take multiple shots to select the best one.
Setting Up Proper Lighting
Lighting is one of the most critical factors in getting a clear, compliant ID photo. Natural daylight is ideal because it provides soft, even illumination without harsh shadows. The best approach is to take your photo near a window on a cloudy day or in a well-lit room with plenty of indirect light.
Avoid direct sunlight, which can create strong shadows and highlights that obscure your facial features. Also, stay away from overhead lighting that casts unflattering shadows under your eyes or chin. If natural light isn’t an option, use a soft light source placed in front of you to evenly light your face without glare or reflections.
Positioning Yourself Correctly
How you position yourself in front of the camera matters as much as the camera and lighting. You should stand or sit straight, facing the camera directly. Your head should be level, not tilted or turned, and your eyes should look straight into the lens to ensure the photo shows your full face.
Keep your shoulders relaxed and avoid leaning in or away from the camera. It helps to place the camera at eye level so you don’t have to look up or down. Make sure your face fills most of the frame, but don’t crop too close—include your entire head from the top of your hair to just below your chin.